


Starlight panels
The finished star field is already integrated into each panel.
Free Shipping + 40% Off Selected Bestsellers
Installation Guide
Follow a clear path from room planning to final app setup. Your panels arrive with the star field already built in and ready to connect.
Before You Start
Lay out the supplied parts first so each connection is easy to identify before the panels go overhead.
The finished star field is already integrated into each panel.

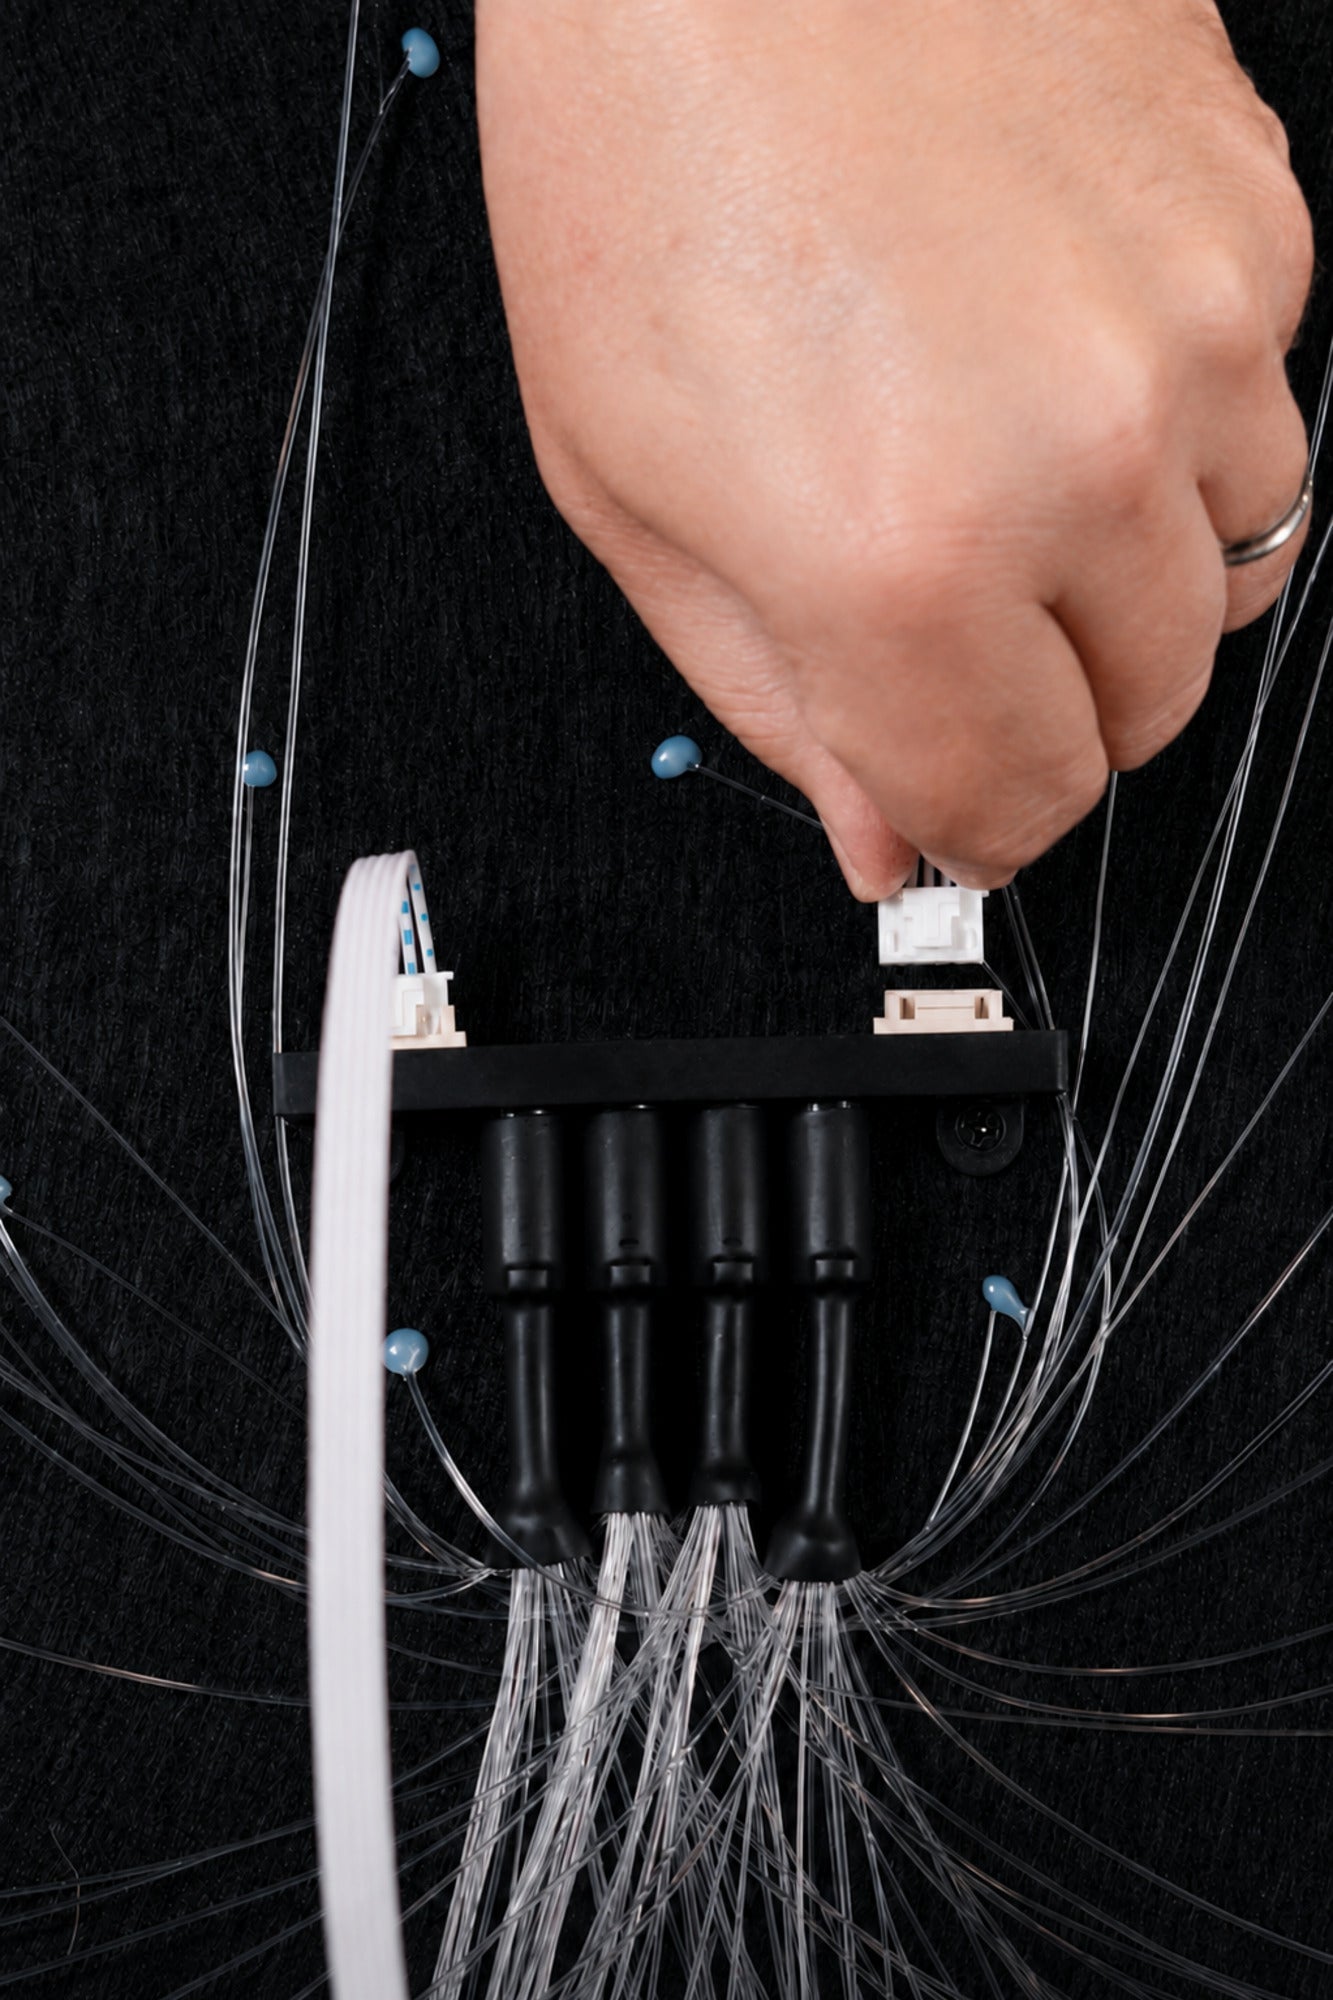
Links the panel PCB to the controller and additional panels.

Manages brightness, scenes, twinkle effects, and app control.

Includes the 5.5 mm x 2.5 mm DC jack for the controller.
Complete all low-voltage wiring before connecting the power supply to an outlet.
Watch Before You Install
Watch the full journey from the first connection to a finished white-starlight ceiling.
Connect & Install
Link the controller and panels in sequence, secure the panels, then confirm the system from your phone.
Review the written installation stepsPair & Personalize
Scan the controller QR code, pair over Bluetooth, then set brightness, twinkle speed, and one of four modes.
Explore the detailed app guideSee the Result
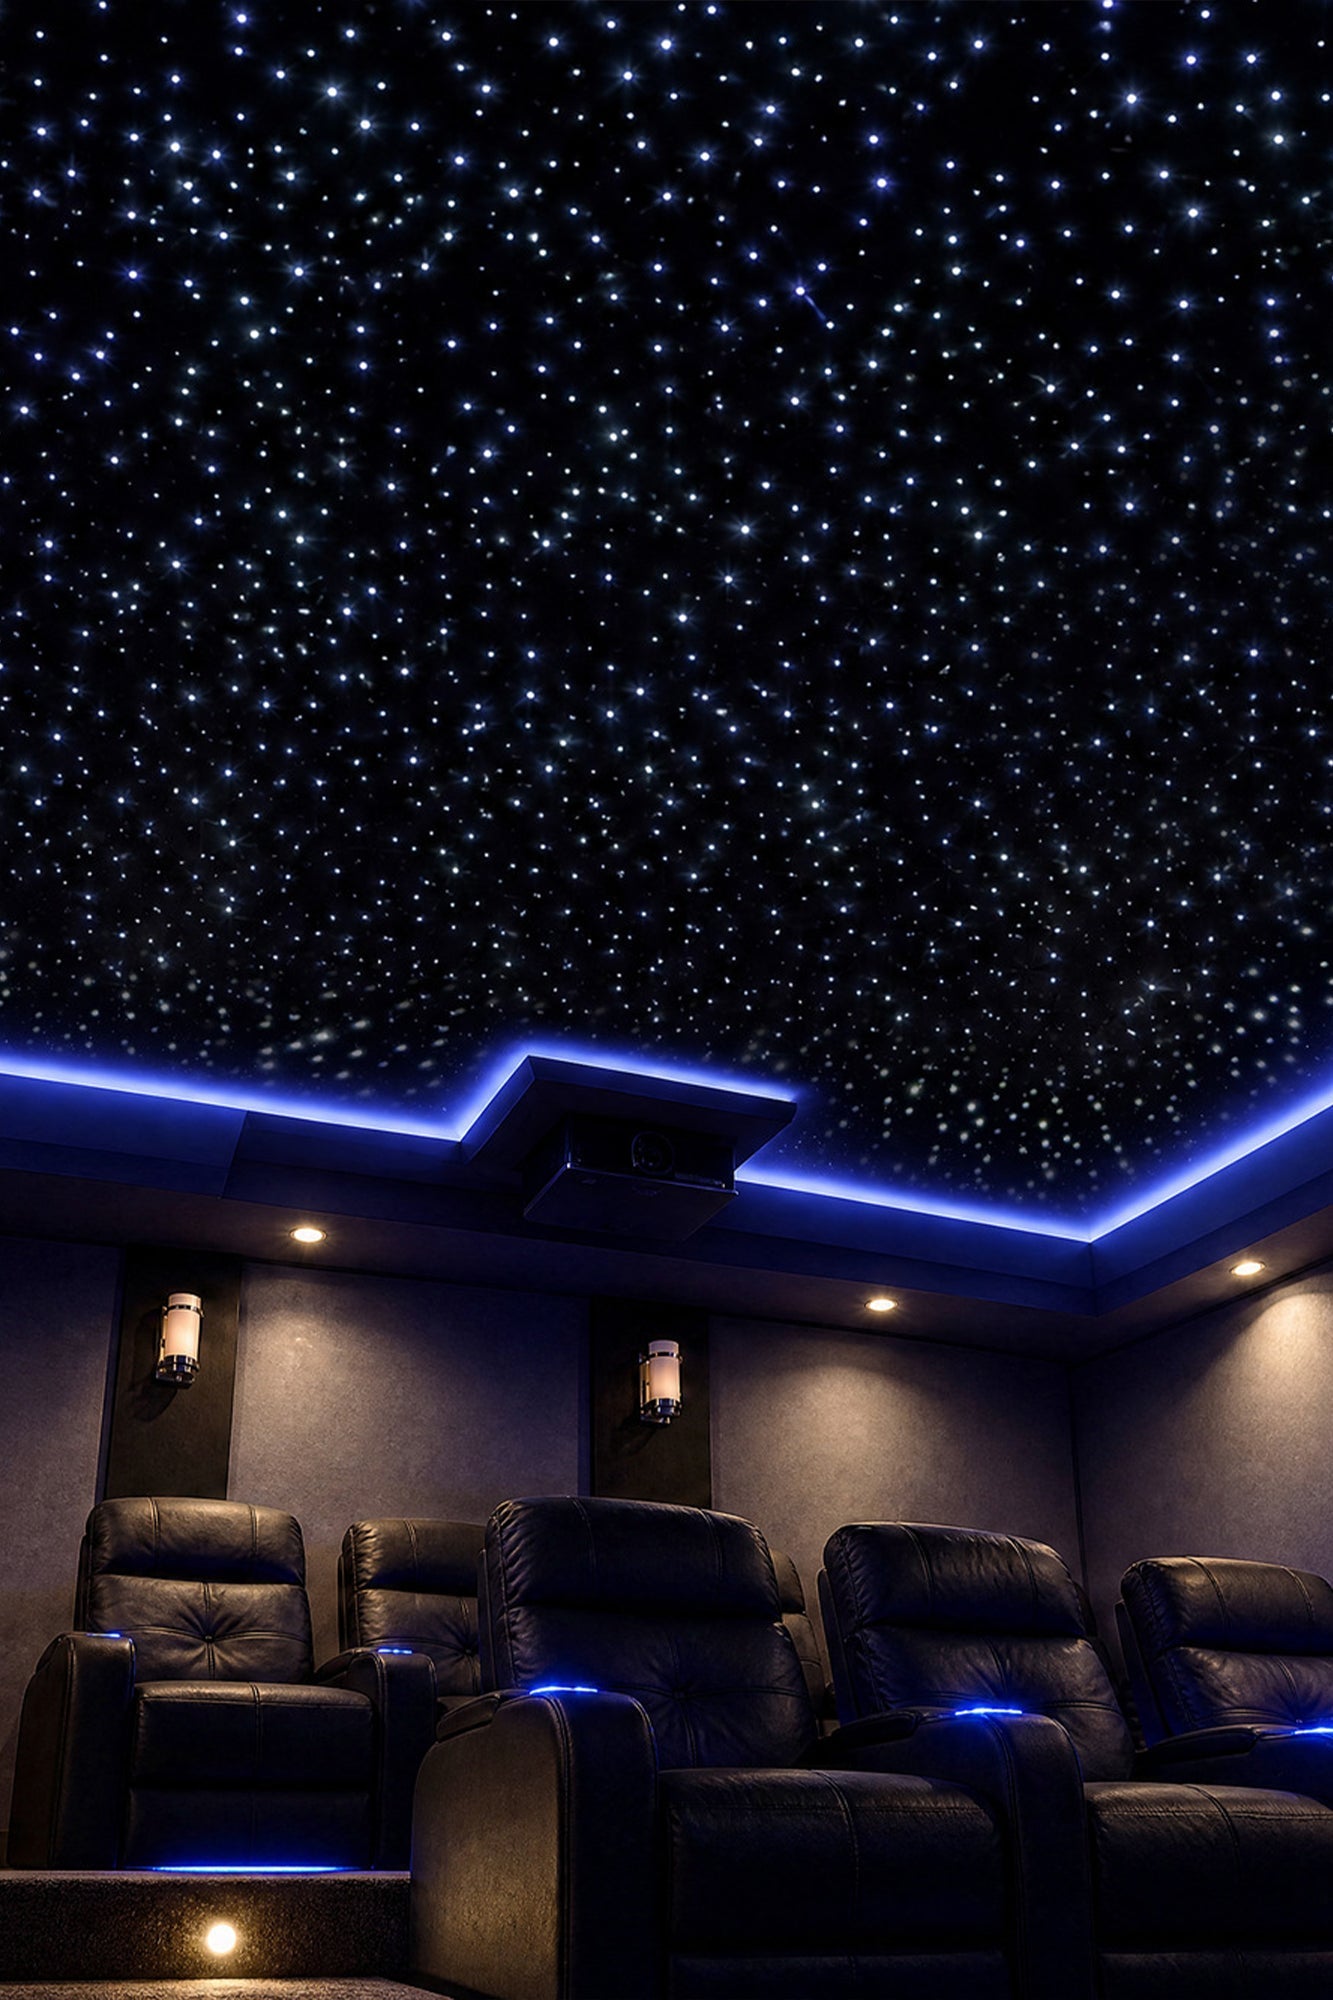
See a completed home theater with crisp white starlight across the ceiling. The effect adds depth and atmosphere overhead while keeping the screen and seating at the center of the experience.
Choose the right panel systemInstallation Flow
Work in this order so the ceiling stays organized and every connection can be checked before power-up.
Measure the ceiling, choose panel orientation, and confirm how the panels will align before mounting.
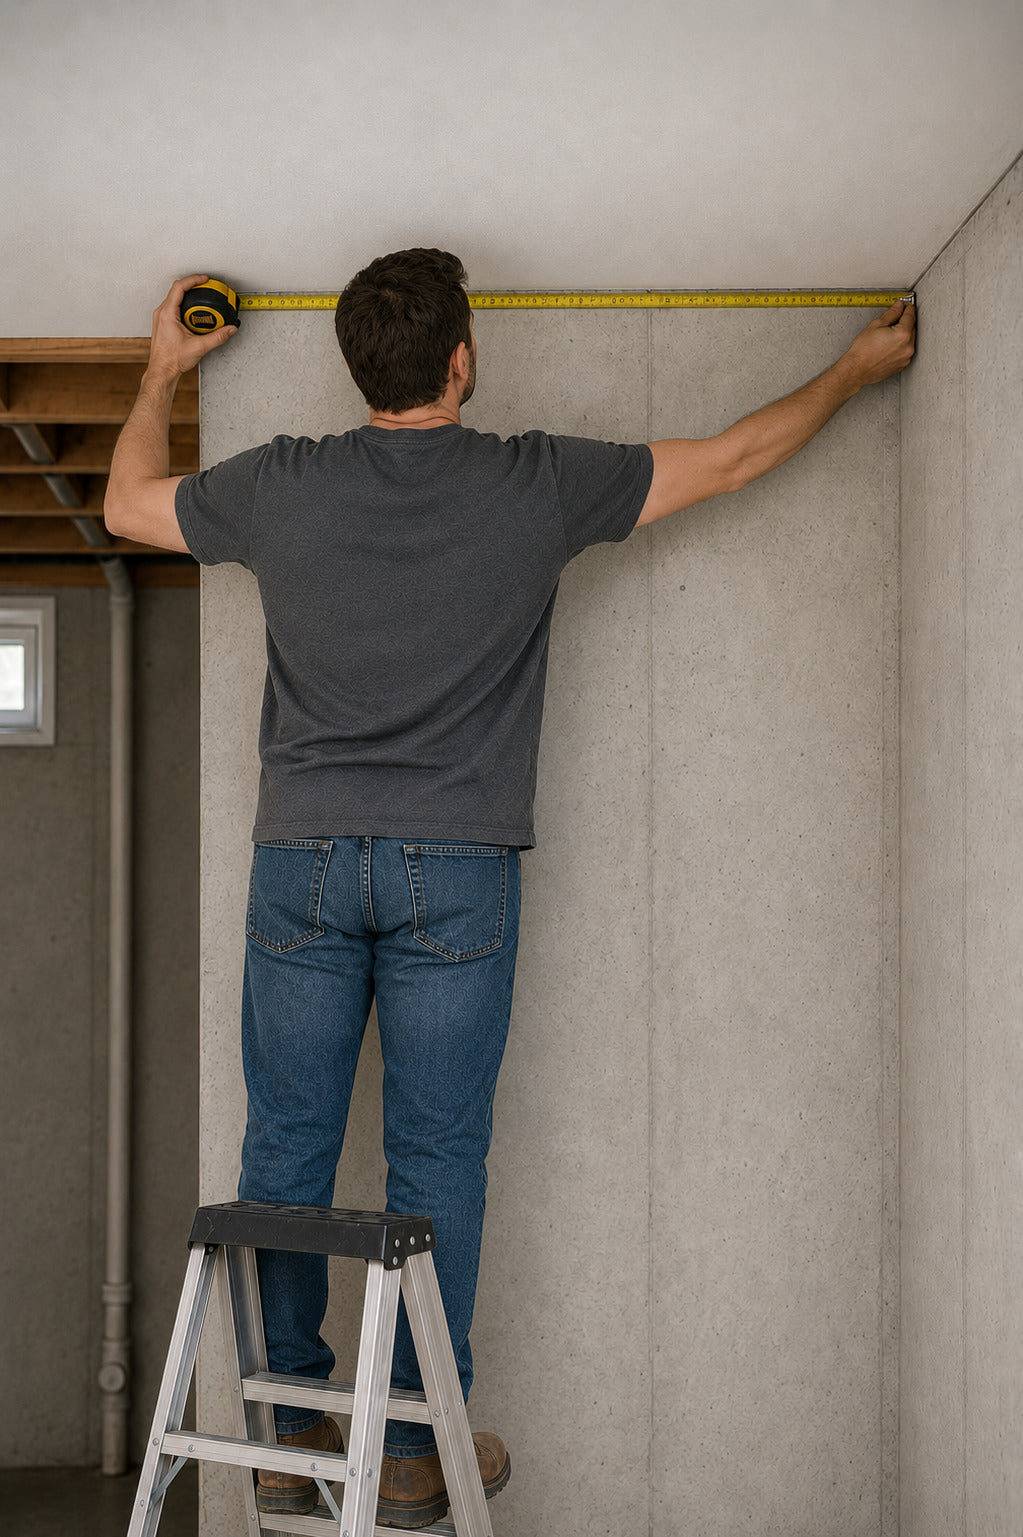
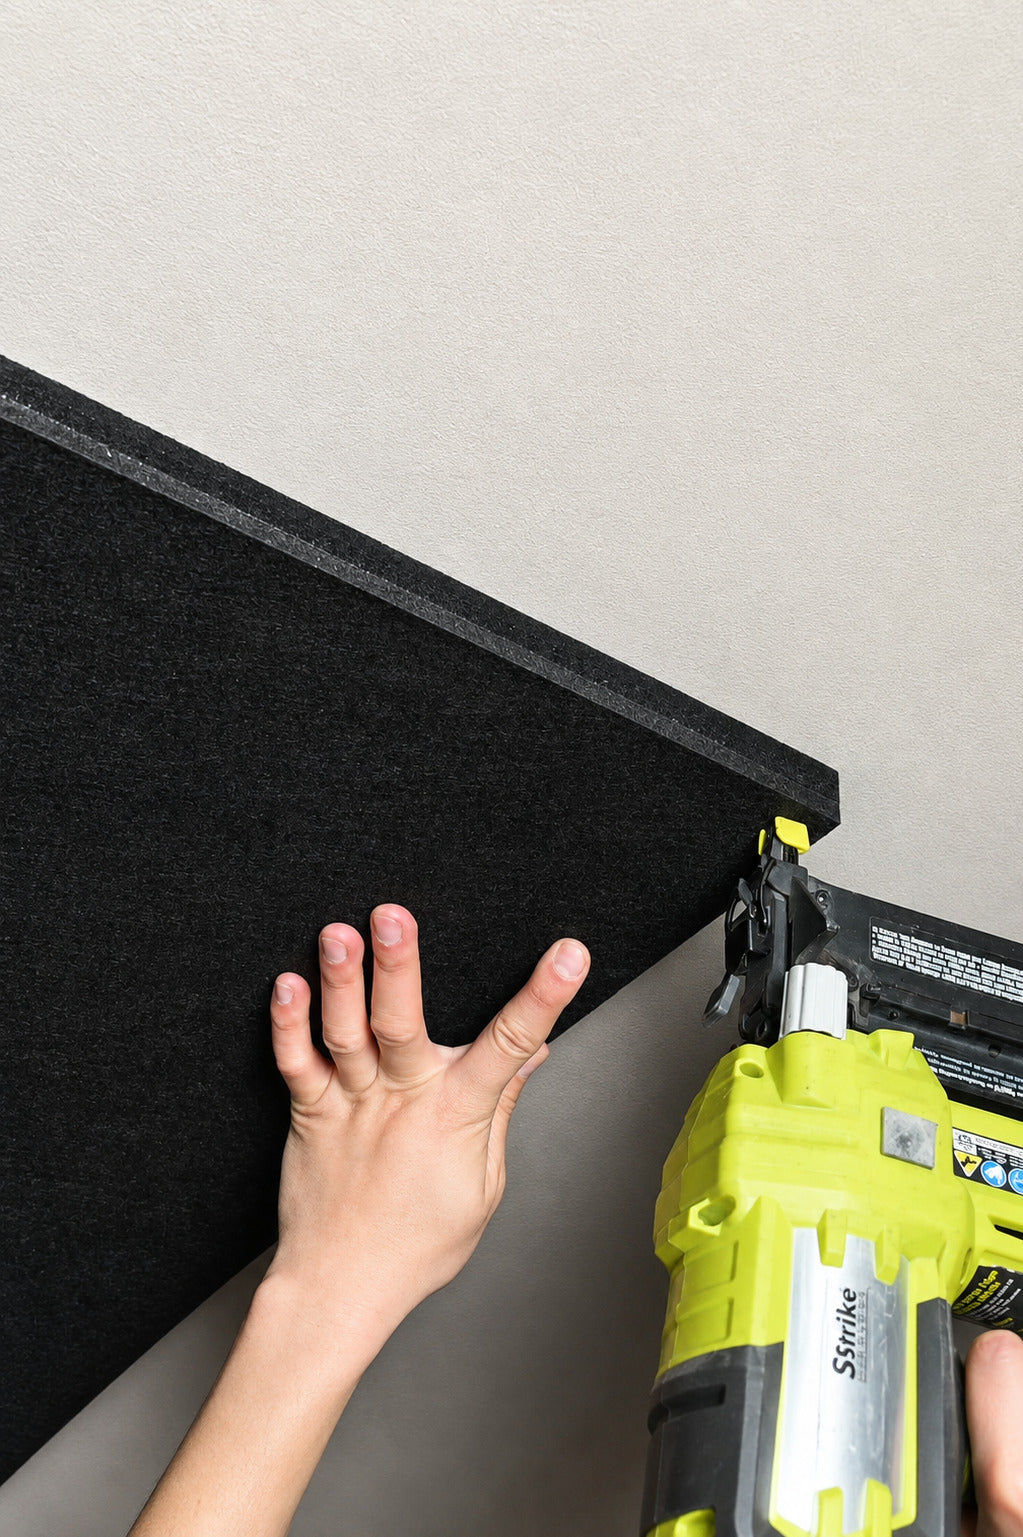
Mount or set the panels into the prepared ceiling area while keeping the rear PCB connectors accessible.
Link the panel cable to the controller output terminals, then connect additional panels in sequence.
Connect the DC jack, apply power, then check every panel before completing the ceiling finish.
Five-Wire Connection
Two compatible cable orientation versions are supplied across our kits. Image 01 shows the standard version used with most kits; Image 02 shows the alternate version supplied with a smaller number of cable sets.


App Setup
Download the Starlight Ceiling app from the controller QR code or the app store for your device.
Keep Bluetooth turned on and stay near the controller during first-time pairing.
 Android devices
 iOS devices
Pair Your Controller

Choose Connect Your Starlight from the main screen.

Allow nearby-device access when your phone requests it.

Select Find My Starlight Panel and choose the nearby device.

If prompted for a password, enter 123456 and continue.
Daily Control
Use the app to turn the system on, move between programs, adjust brightness and cycle speed, or save a custom scene.
Press Play to turn the lights on. Use Next or Previous to move between saved programs, then adjust brightness and cycle speed with the sliders.
Open Custom, name the scene, select any of the four LED channels, and choose Light, Blink, or Breathe. Set brightness and cycle for each channel, then save.
Return to Home and select Turn Off. Choose the ceiling again whenever you want to return to the LED control screen.
Open the Settings tab and select Disconnect when you need to pair the controller with another device.


01 / 05
Installation Support
Send the Valencia team your room dimensions or a ceiling photo before ordering. We can help confirm the panel layout, controller count, and mounting path.